Introduction
What is monitoring and why is it important? Monitoring refers to the act of observing, tracking, and assessing the status, progress, or performance of something over time. This could be anything from the progress of a project, or the performance of a computer system. Even the health of a container. In one of my most recent articles, I wrote about container monitoring with Datadog and how important it is in the cloud space. Check it out in my AWS Cloud Project Bootcamp series.
Monitoring is important for several reasons. Firstly, it allows us to identify and diagnose problems early on before they become more serious or cause major disruptions. This can save time, money, and resources in the long run.
In this article, I will show you how to install an open-source tool known as Zabbix. I will be setting it up on localized servers in my workplace to monitor the health and performance of these servers.
And With that being said, let's get started.
So what is Zabbix?
Zabbix is an open-source monitoring tool for servers, virtual machines, cloud services and more. It monitors the health and integrity of multiple parameters of a network and servers such as network usage, disk space consumption, and CPU load. Zabbix also utilizes a flexible notification mechanism that allows users to configure e-mail-based alerts for virtually any event. The tool uses a separate database to store the data and monitor the applications.
How to Download and Install Zabbix?
I'll outline the steps I followed from the Official Zabbix Website. The installation varies depending on your server architecture. I will be working on an Ubuntu Server 22.04 that uses MySQL database on an Apache-driven web server.
Start by downloading the Zabbix repository
wget https://repo.zabbix.com/zabbix/6.4/ubuntu/pool/main/z/zabbix-release/zabbix-release_6.4-1+ubuntu22.04_all.deb
dpkg -i zabbix-release_6.4-1+ubuntu22.04_all.deb
apt update
Next, install the Zabbix dependencies. These include the server itself, the frontend and the agent
apt install zabbix-server-mysql zabbix-frontend-php zabbix-apache-conf zabbix-sql-scripts zabbix-agent
Now we will create the database that Zabbix uses to store data. Ensure you have MySQL installed on your server. If not, run this command
apt install -y mysql-server
Log into mysql and input your password
mysql -u root -p
We will create a database known as Zabbix, create a user and a password and grant privileges over the Zabbix database that we just created to that user.
CREATE DATABASE zabbix CHARACTER SET utf8mb4 collate utf8mb4_bin;
CREATE USER zabbix@localhost IDENTIFIED BY 'password';
GRANT ALL PRIVILEGES ON zabbix.* TO zabbix@localhost;
SET GLOBAL log_bin_trust_function_creators = 1;
QUIT;
On the Zabbix server host, import the initial schema and data. You will be prompted to enter your newly created password.
zcat /usr/share/zabbix-sql-scripts/mysql/server.sql.gz | mysql --default-character-set=utf8mb4 -uzabbix -p zabbix
Disable the log_bin_trust_function_creators option after importing the database schema.
mysql -u root -p
password

SET GLOBAL log_bin_trust_function_creators = 0;
QUIT;
Next, you want to configure the database for the Zabbix server.
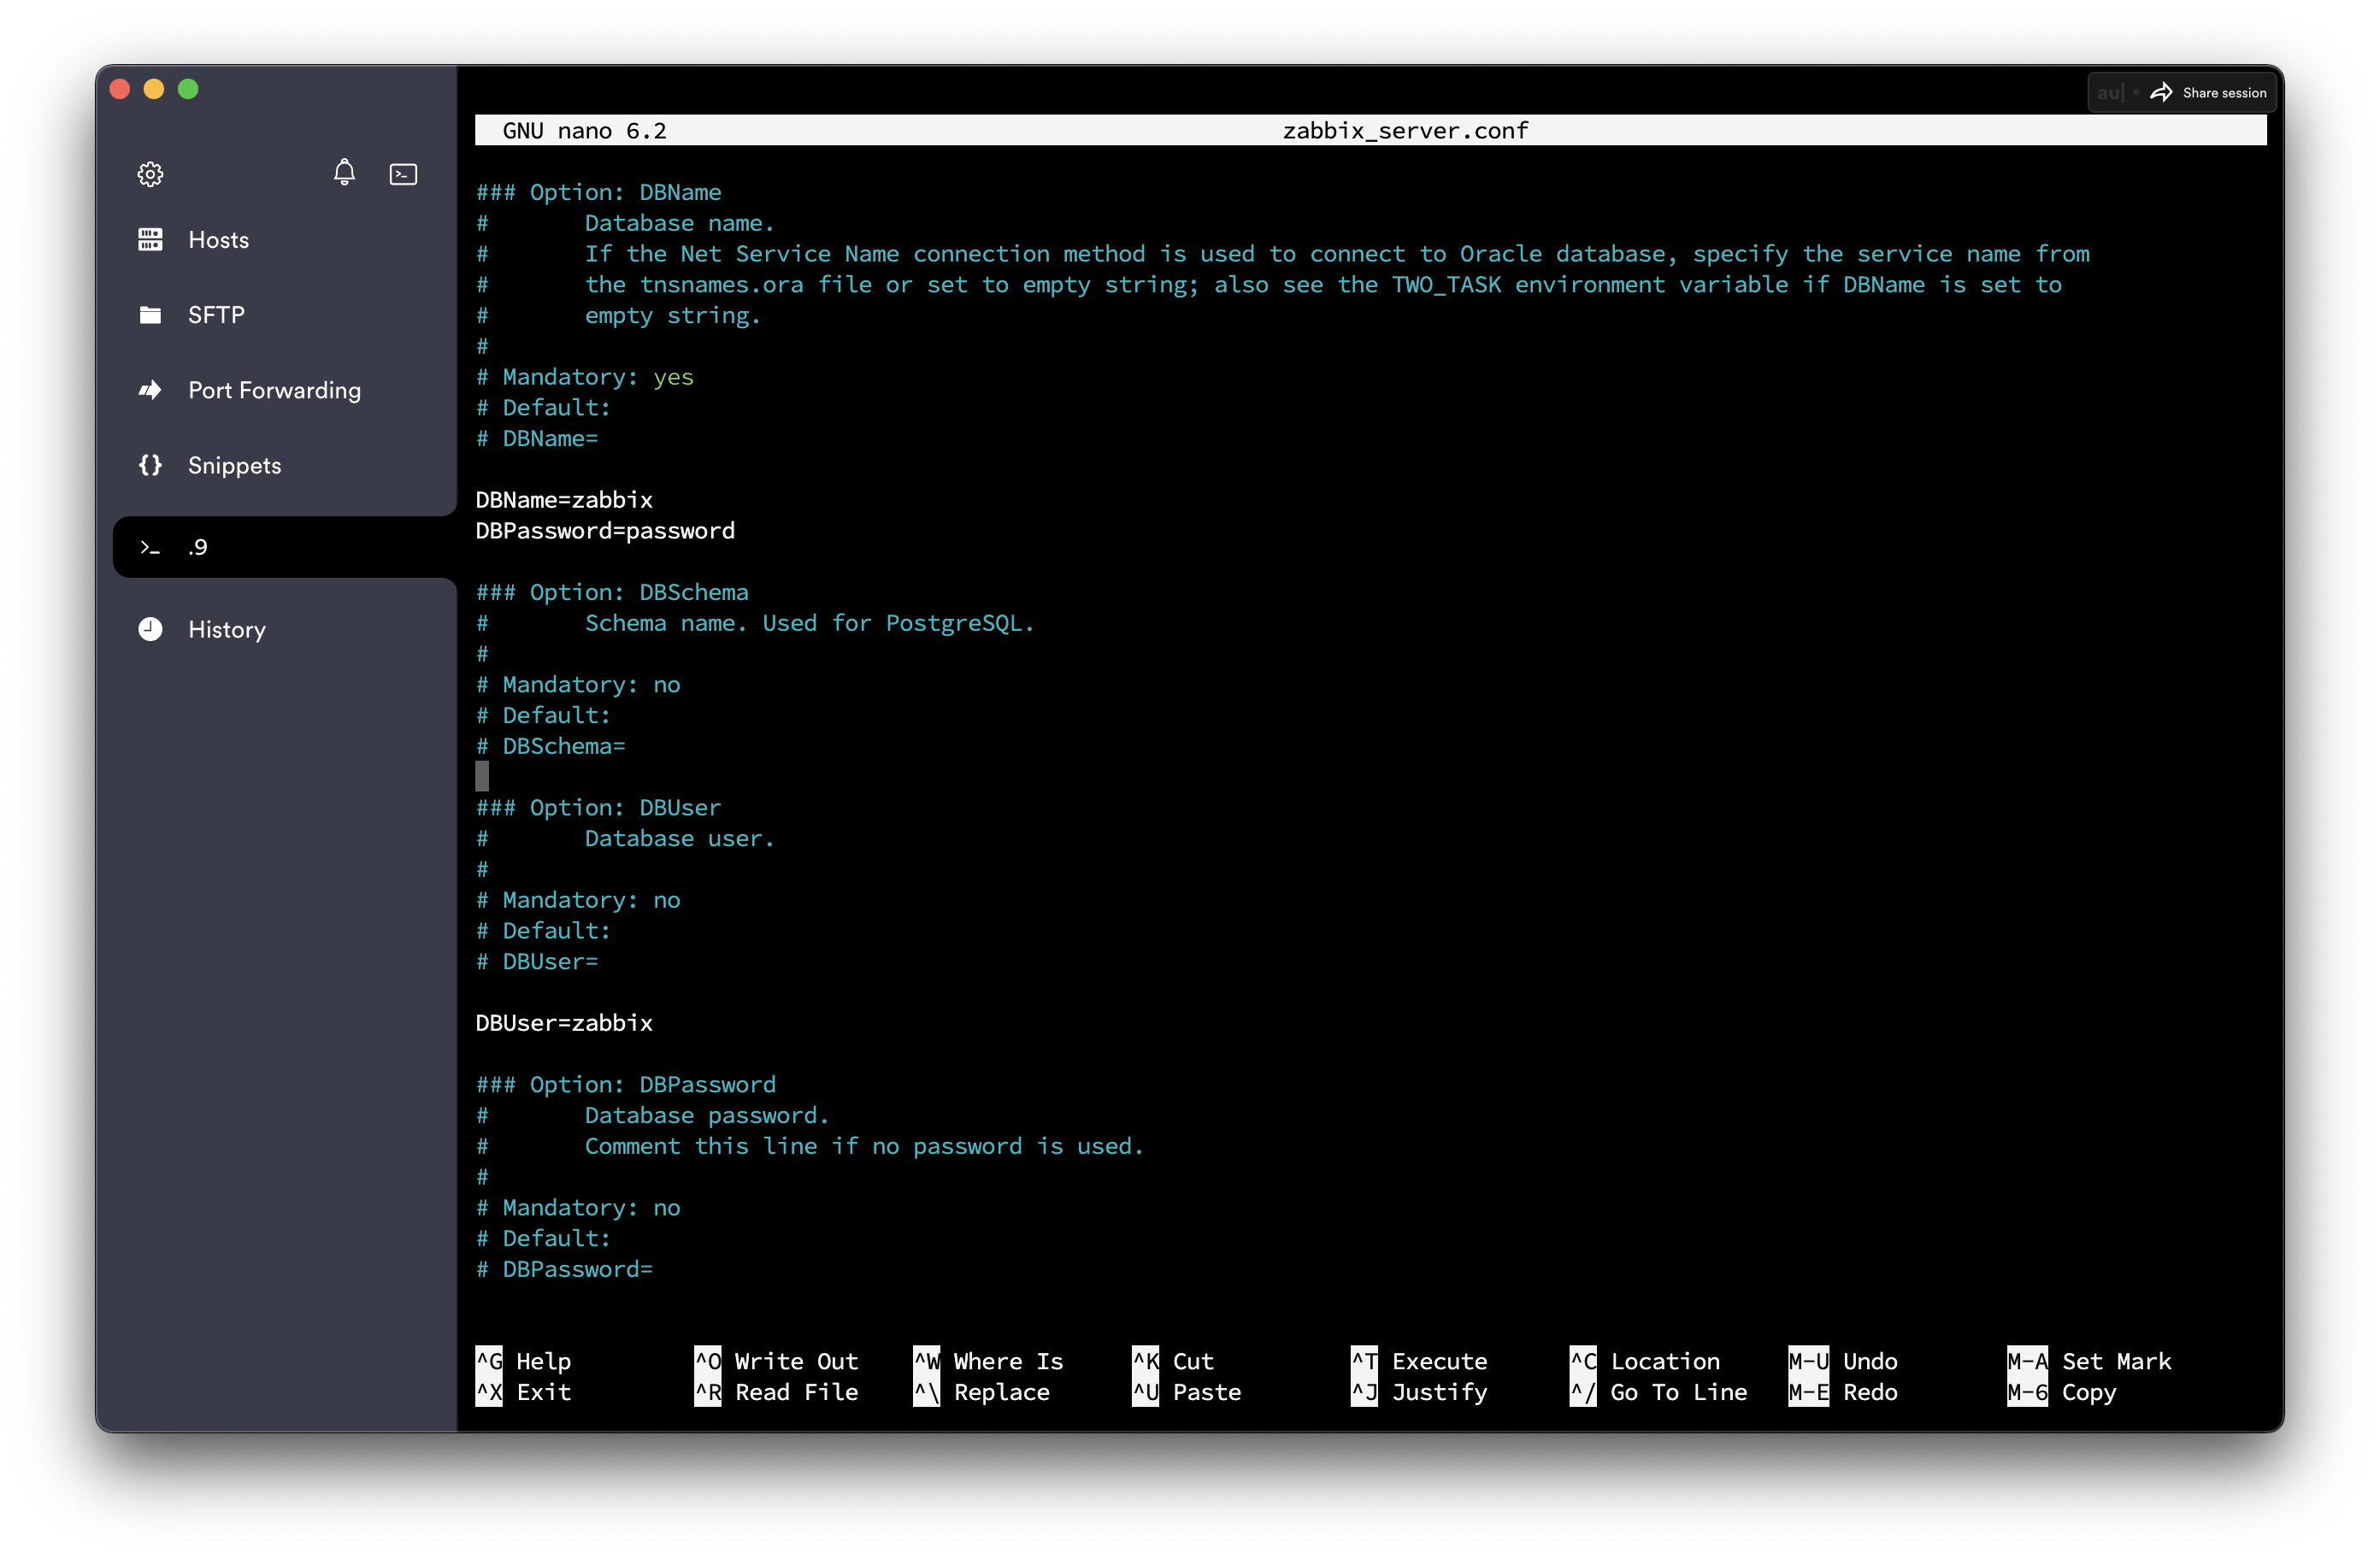
Now head over to the /etc/zabbix/zabbix_server.conf file and nano or vim into it.
Add to the file
DBPassword="password"
as shown below

Lastly, start the Zabbix server and agent process
systemctl restart zabbix-server zabbix-agent apache2
systemctl enable zabbix-server zabbix-agent apache2
NB: Don't forget to disable the Apache default page using the command
sudo a2dissite 000-default.conf
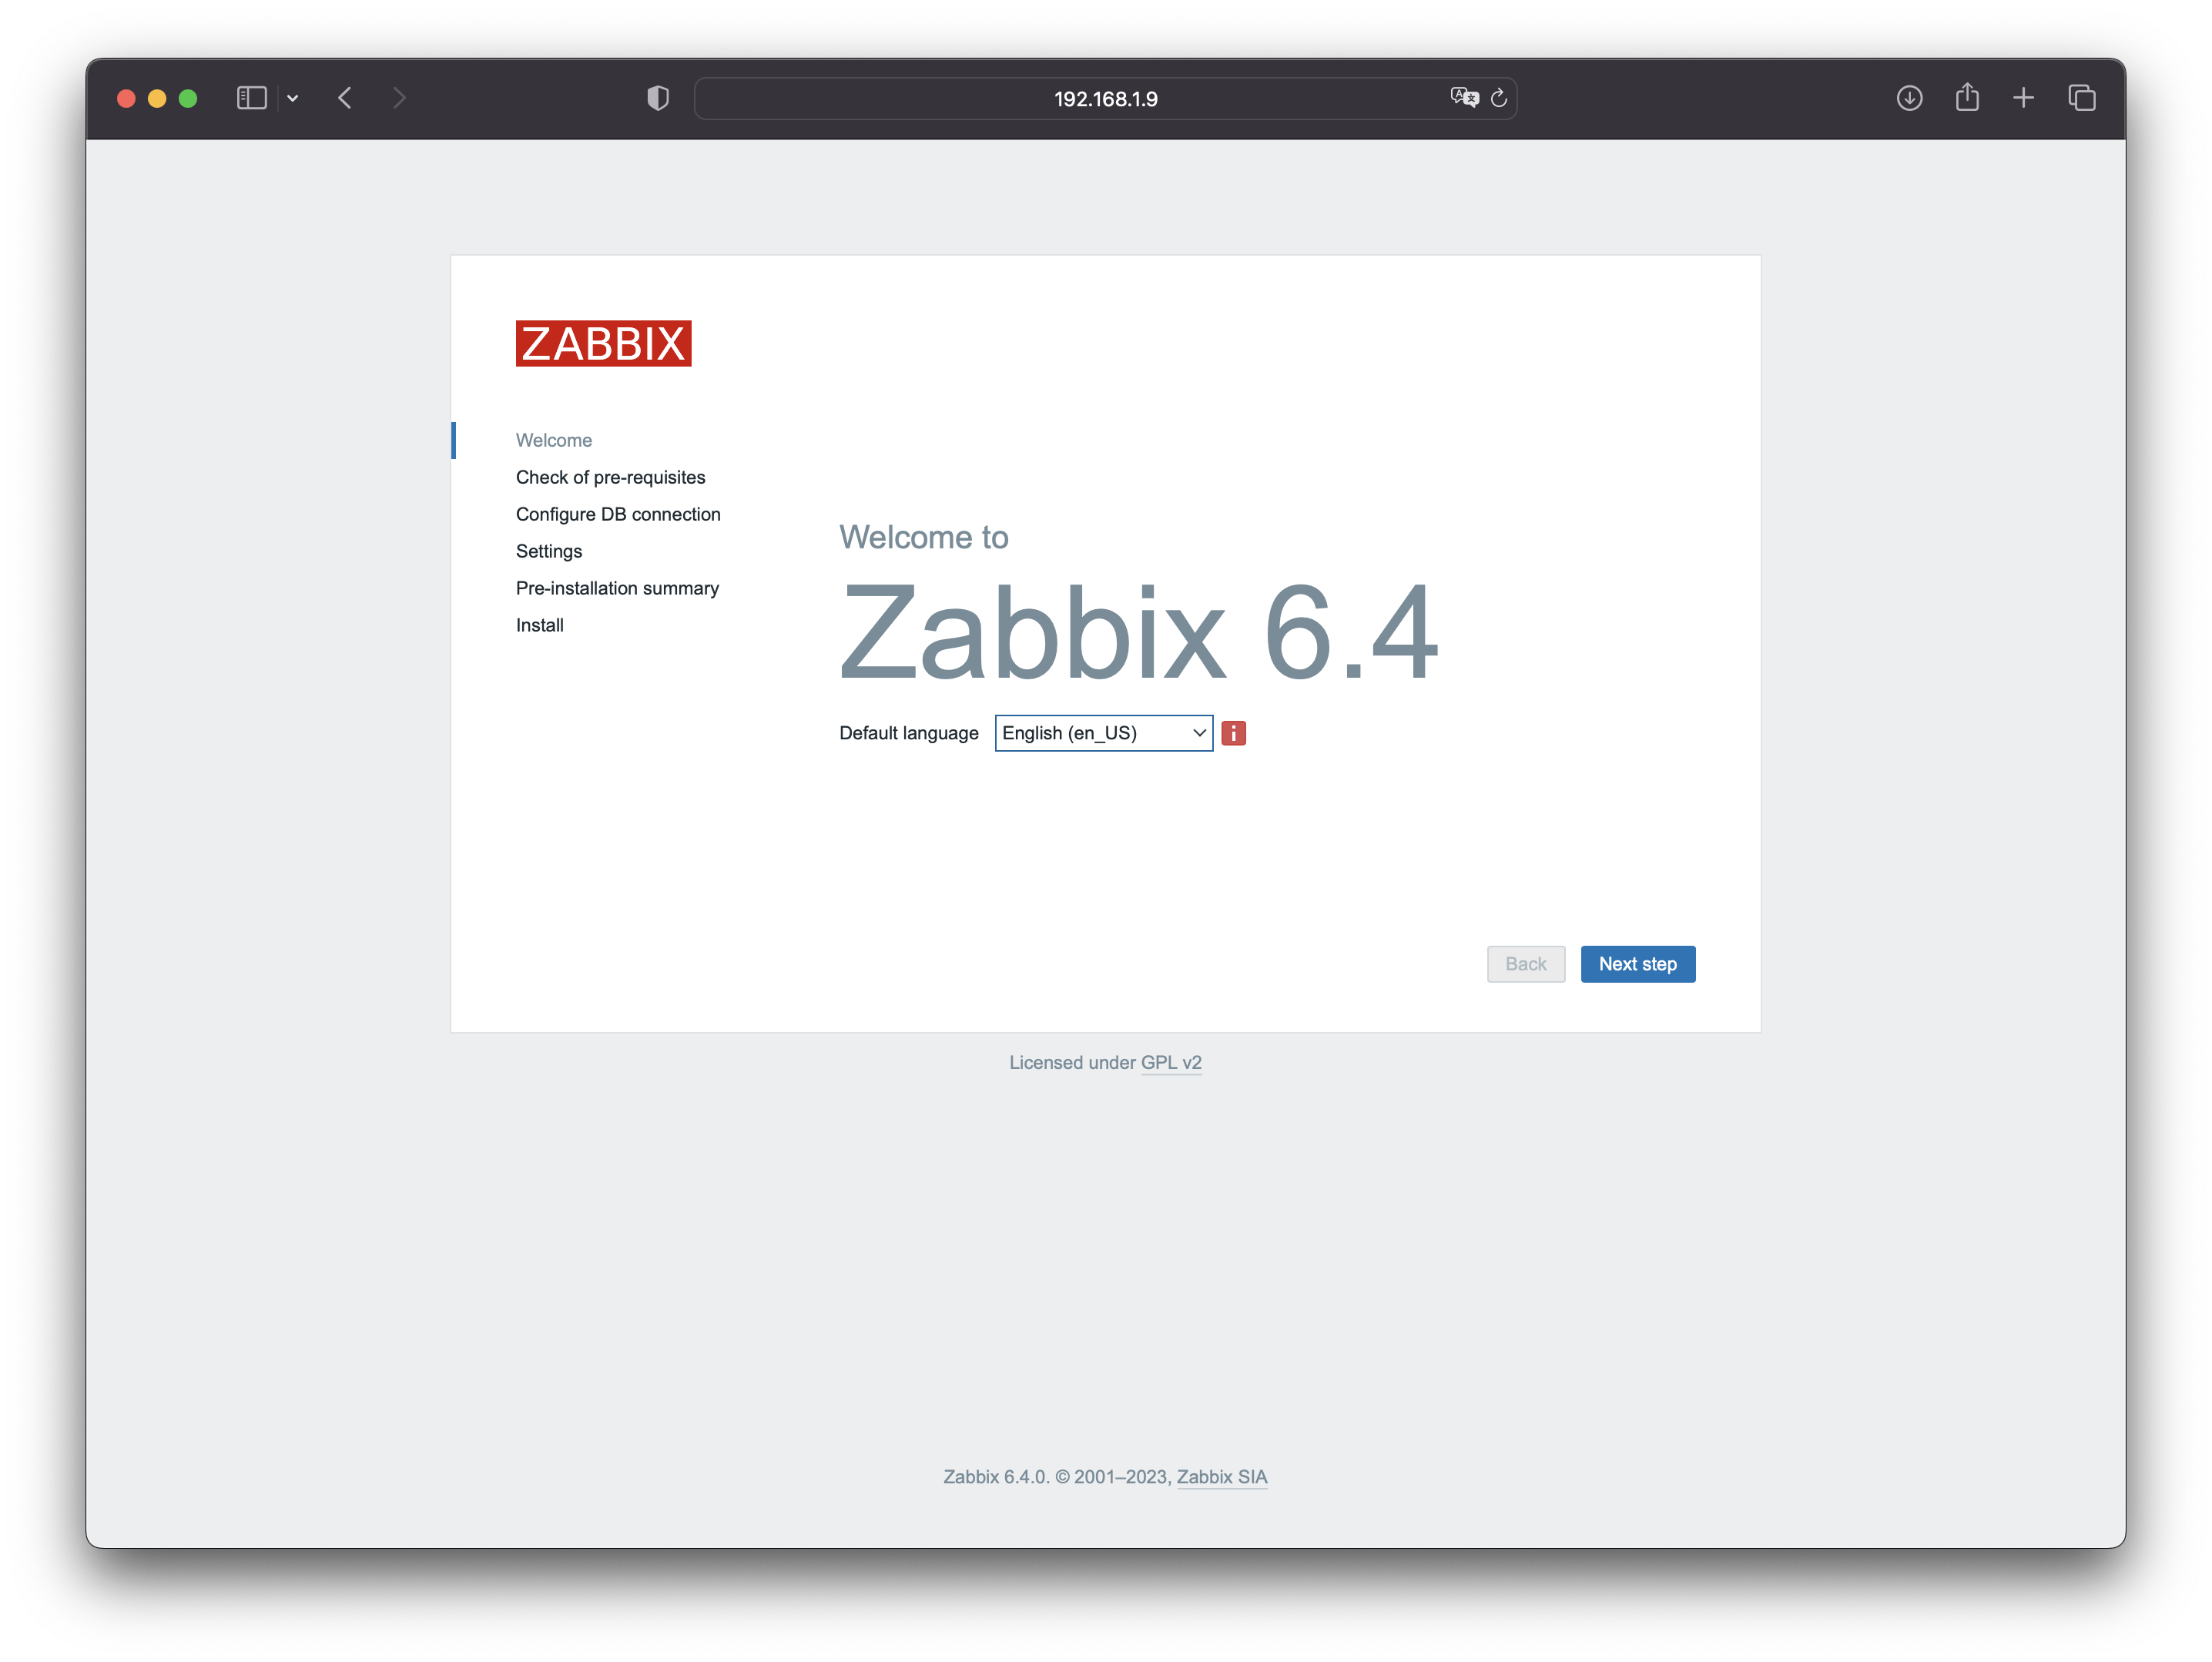
Now you can open the Zabbix UI web page. The default URL for Zabbix UI when using the Apache web server is http://host/zabbix i.e http://192.168.1.9/zabbix
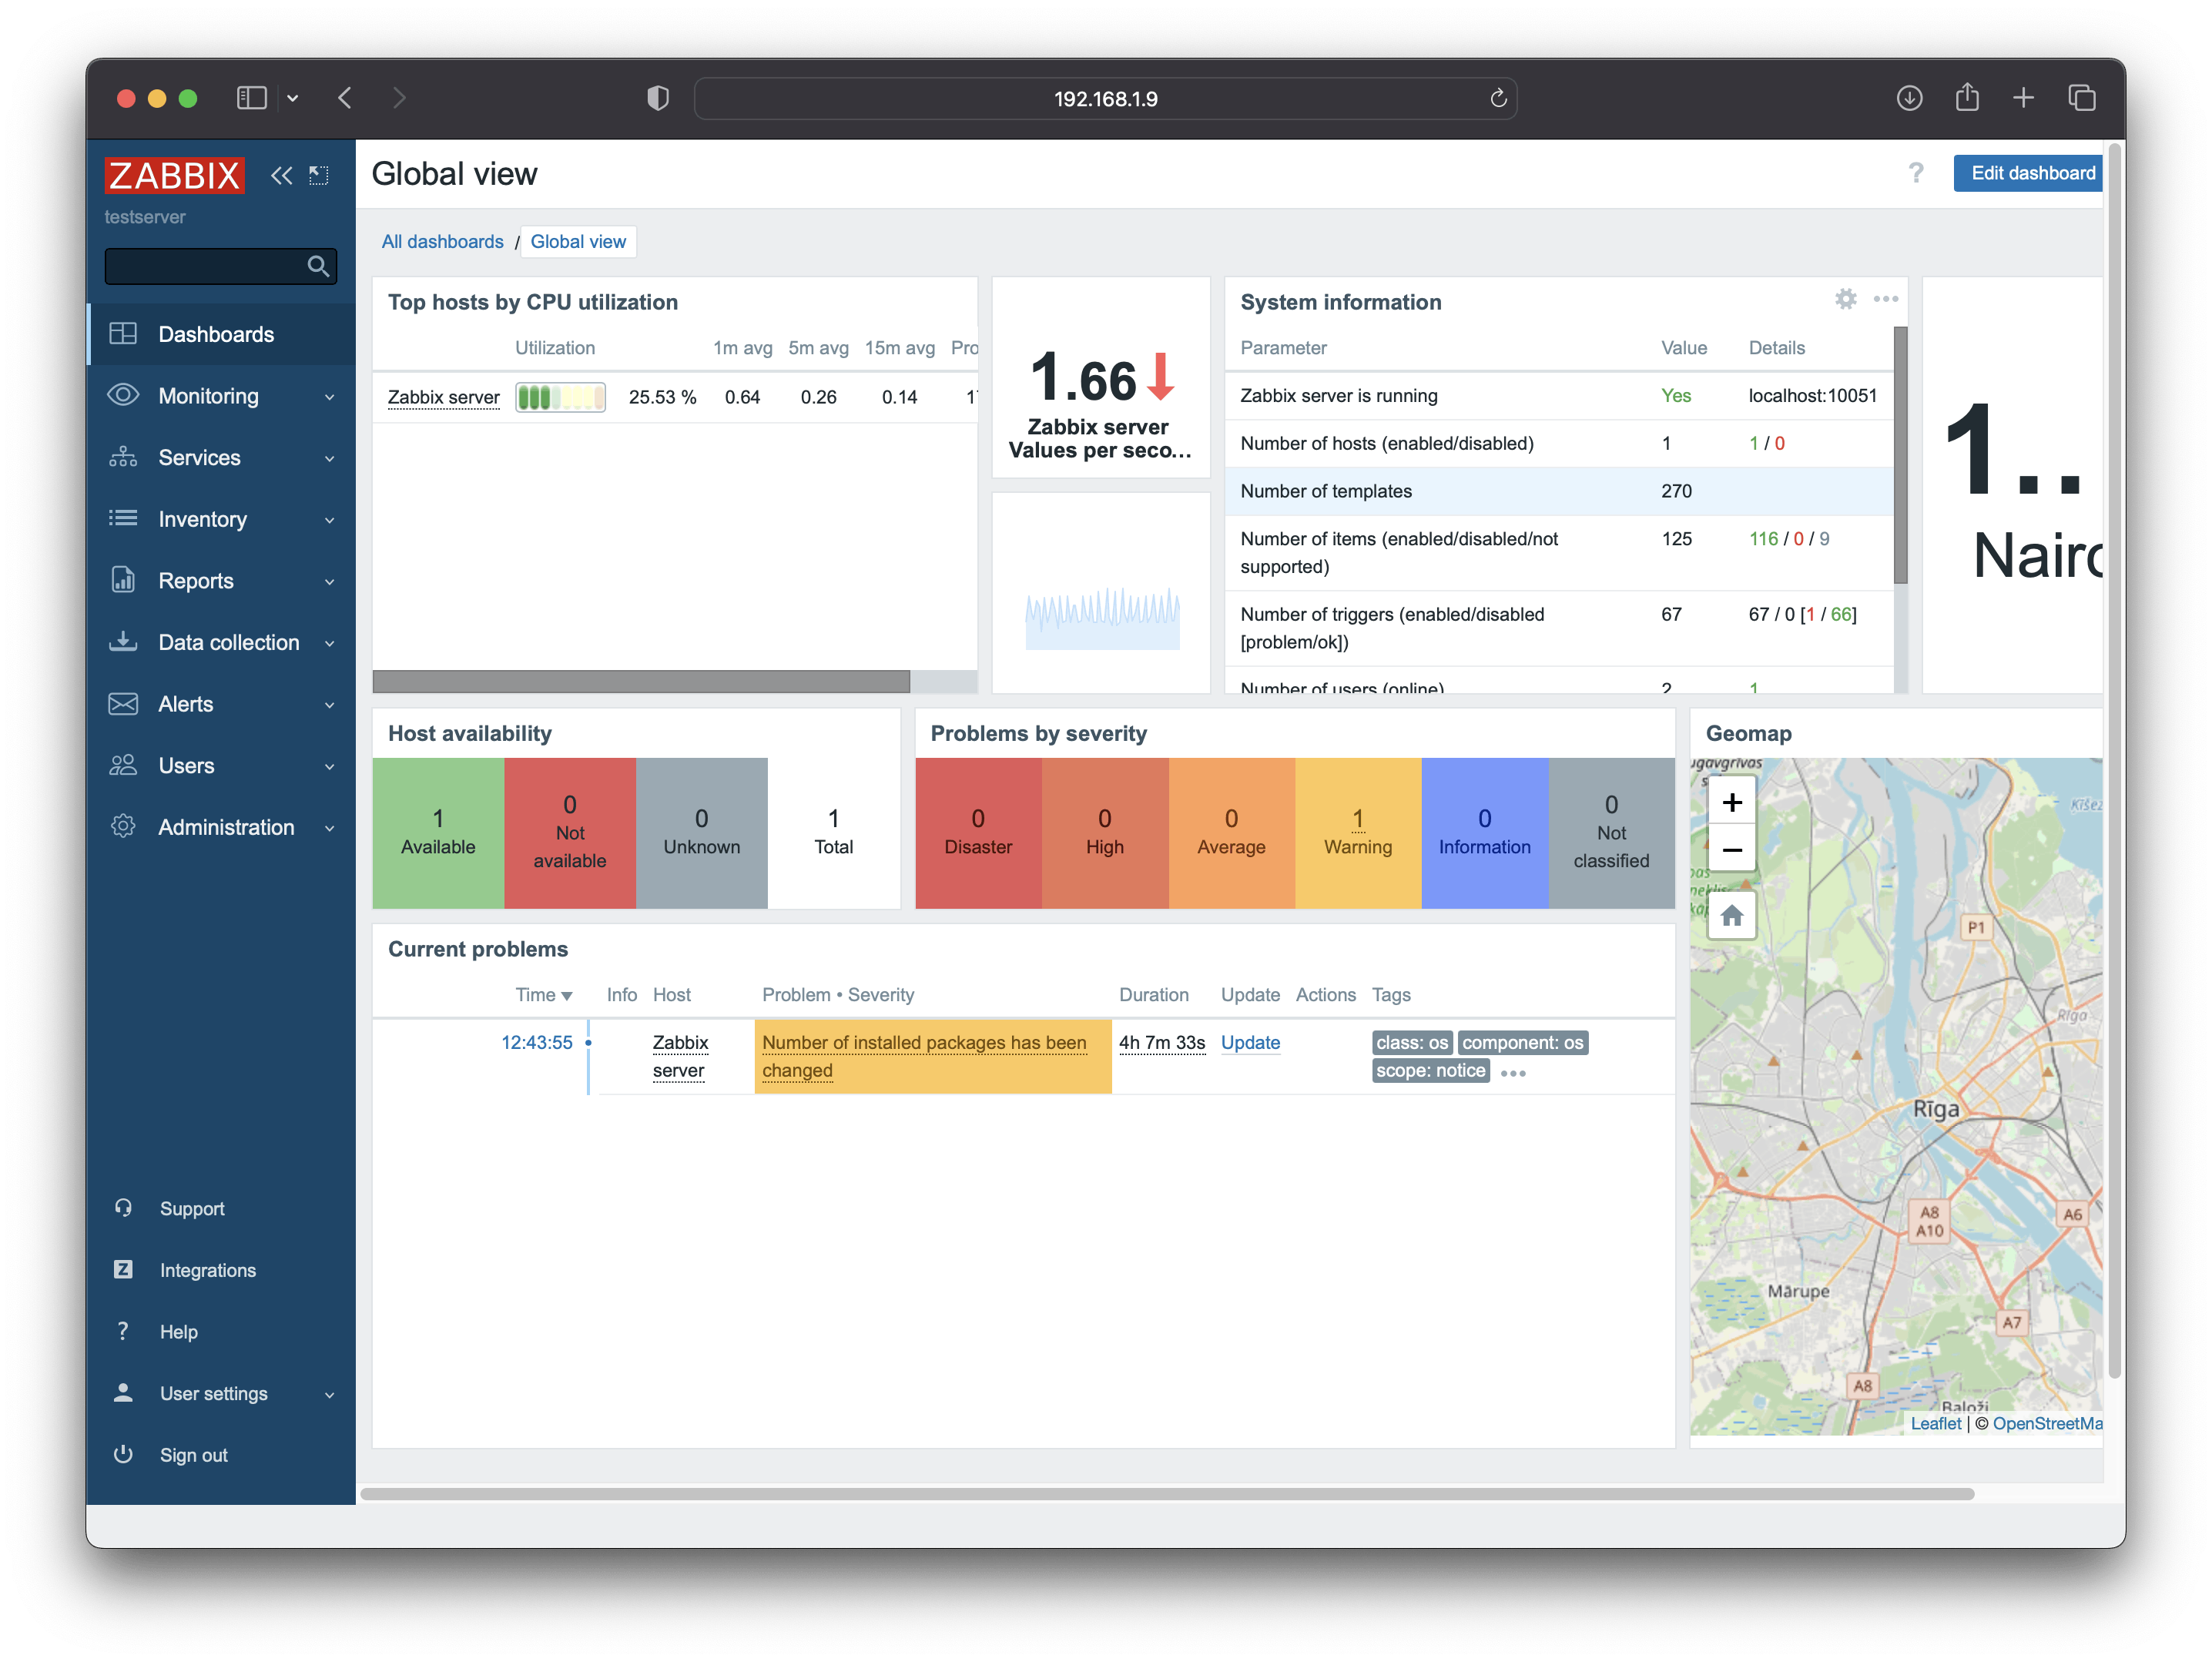
Your Zabbix site should be up and running

Running into authorization problems when trying to log in?
How to change the Zabbix Frontend UI Password
Run this to create a password encrypted with bcrypt
htpasswd -bnBC 10 "zabbix" password | tr -d ':\n'
This is the encrypted password for "password" $2y$10$10Qz19ztIyXFsdzqWMdzTejMUW0uAB9pGZ5lRjjFq5k5/u.M9PCIa
Run these commands in the MySQL Zabbix database
UPDATE zabbix.users SET passwd=('$2y$10$10Qz19ztIyXFsdzqWMdzTejMUW0uAB9pGZ5lRjjFq5k5/u.M9PCIa') WHERE userid='1';
QUIT;
Login to the web frontend using the username as "Admin" and password as "password"

NB: Do not forget to change your password through the dashboard
And there you have it, easy as that. You're now able to monitor your servers using Zabbix.

